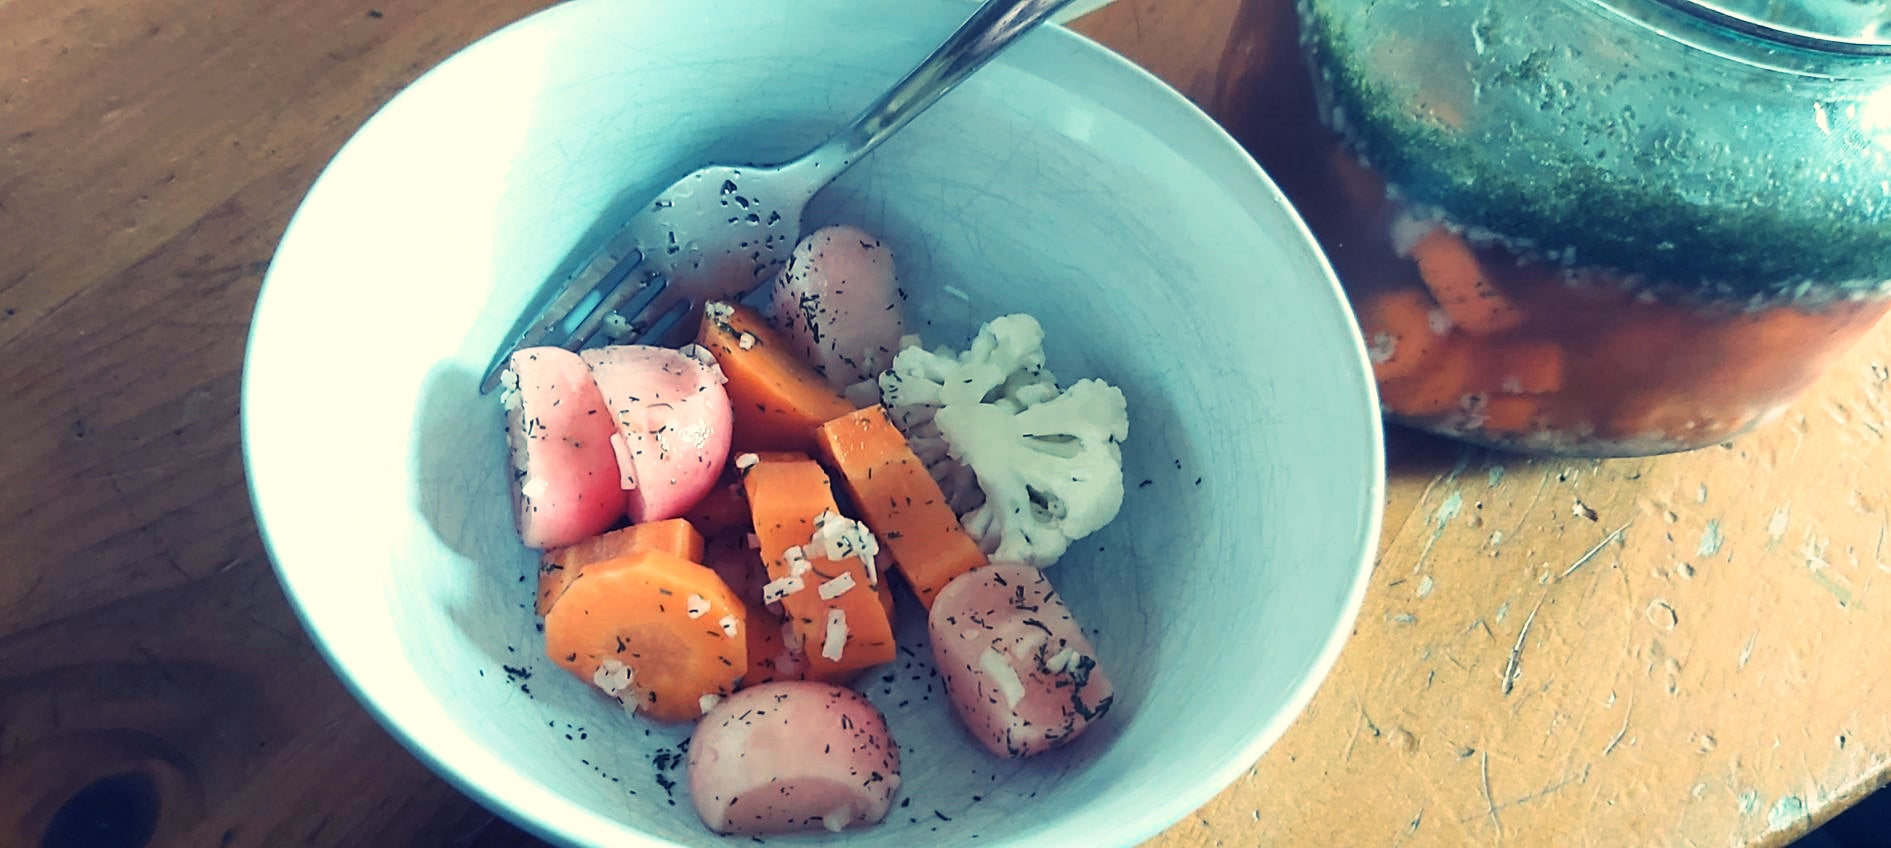
How To Make Your Own Pickles
Apart from adding fantastic flavour and tang to your diner, pickles can provide excellent nourishment for your mind and body as almost all the nutrients in pickled foods are preserved, as compared to foods that have been cooked.
Roughly speaking, pickles can be divided into two categories; fermented pickles or those preserved in vinegar. The former is the healthier of the two as it allows for a natural fermentation process to occur which allows for the growth of probiotic "gut-friendly" bacteria. These are the bacteria you want, to maintain a healthy gut. The true fermentation process takes about 2-4 weeks to complete so is definitely a more involved process but does produce a healthier end product.
Making a vinegar based pickle
What you will need:
Vegetable(s) or fruits of your choice. You can use pretty much any vegetable that can be eaten in its raw state. From experience, we can recommend the following vegetables: cucumber, cabbage, cauliflower, radishes, carrots, peppers, courgette, onions, mushrooms beetroot and even lemons. Many fruits can also be pickled, some examples include: figs, watermelon rind (the white bit under the outer green skin), apples, mango, strawberries and more.
Feel free to mix various vegetables or fruits together. A nice combination is radish, carrots and cucumbers. You will need:
1) A 1 litre mason jar or or similarly sized airtight container.
2) Pure water (unchlorinated - as chlorine can inhibit the growth of the beneficial bacteria). Use bottled water or allow tap water to sit in an open container for the chlorine to evaporate.
3) 20 grams of pure sea salt. If you are concerned about the clarity of the brine produced, use a specific pickling salt.
4) 100 milliliters of apple cider vinegar (we think this produces the nicest tasting pickles but you can use a different vinegar to suit taste).
5) A variety of herbs and spices. For a classic Polish style pickled gherkin, for example, you would need 10 fresh garlic cloves, a bunch of fresh dill, 20 black peppercorns, a teaspoon of mustard seeds and 2 large bay leaves. All these will add fantastic flavour and tang. Try various combinations and quantities to tailor the recipe to your palette.
Preparation
1) Sterilize your pickling jar with boiling water for a couple of minutes then allow it to cool. Traditionally, this would have been done by boiling the entire container and lid.
2) Wash and cut your chosen vegetables into manageable, bite-sized chunks. This will allow for maximum absorption of flavour and make serving easier.
3) Add your chosen herb/spice mix to the empty, sterilized jar.
4) Place your vegetables on top of the spice/herb mix.
5) Add the vinegar.
6) Fill the jar with the water to completely cover all of the vegetables.
7) Close the container and give the ingredients a shake to ensure even distribution within the jar.
8) Place the jar in the fridge and make sure to shake it once a day to ensure even coverage and pickling rates across all contents. Do this for 3 to 4 days. Your pickle is now ready to eat! Very simple and delicious.
Making a "true fermented pickle"
What you will need:
Vegetable(s) of your choice. Classic vegetables for a fermented pickle include: cabbage (think sauerkraut/kimchee) and cucumber. Ultimately, all the vegetables listed above will do.
1) A 1 litre mason jar or or similarly sized container.
2) Pure water (unchlorinated - as chlorine can inhibit the growth of the beneficial bacteria).
3) 35 to 45 grams of pure sea salt. If you are concerned about the clarity of the brine produced, use a specific pickling salt.
4) A variety of herbs and spices. Try various combinations and quantities to tailor the recipe to your palette.
5) A "pickle pebble" - essentially a flat round weight made from glass or stone.
Preparation
1) Sterilize your pickling jar and pebble with boiling water for a couple of minutes then allow it to cool. Traditionally, this would have been done by boiling the entire container and "pebble".
2) Wash and cut your chosen vegetables into manageable, bite-sized chunks. This will allow for maximum absorption of flavour and make serving easier.
3) Add your chosen herb/spice mix to the empty, sterilized jar.
4) Place your vegetables on top of the spice/herb mix.
5) Fill the jar with the water to completely cover all of the vegetables.
6) Place the weight/stone on top of the vegetables, ensuring that they are all beneath the waterline.
7) Place the jar in the fridge or in a cool, dark area. Allow to sit for 3-4 weeks. This process will take longer at the lower temperature of a fridge. You should be able to observe bubbles forming inside the jar as the probiotic bacteria do their thing.
The longer you leave the jar, the tangier the pickle (up to a point).
Before consumption, please check the contents for mold, smell and texture. If anything seems off, best practice is to discard. Things to watch out for, make sure all veggies remain below the waterline at all times. Use a sufficient proportion of salt (approximately a 3-4.5% concentration is ideal, depending on preference). Store the jar in a cool or cold area away from sunlight.
If the pickling is successful, the pickles can be stored for over a year in a cold/cool place away from direct sunlight.
Good luck pickling!
The Bushgear Team


